
A week or so ago, I mentioned my entrée into stroller decorating for our neighborhood block party. Most of the folks who saw the photo instantly asked if this was to be Miss O’s Halloween costume. Life is never that easy or that simple is it? The short answer is no, but more on that in another post. For now, I’ll just say that the apple picking bag costume is a completely viable option and pretty simple to do. If you find yourself inspired to turn your tot’s ride into a half-bushel of apples for Halloween, I’m happy to share how I did mine.
If I hadn’t been so rushed I might have had the forethought to blog it out with lots of pictures and details, but it was pretty quick and simple, so all I have is a few photos with some basic instructions. I’m pretty sure you can work it out, but please let me know if you have questions and I’ll be happy to help if I can.
Materials Used:
- White Poster Board – I used three sheets because that’s what fit my stroller. I got it at the local Dollar Tree so it was 2 for $1 (I got 4 just in case and because I was feeling like I could afford it that day.)
- Tempera Paint & Brushes – We already had this on hand for Miss O. I suggest painting and letting it dry before attaching the sheets together, unless you want things to line up. I didn’t care about that, so it was easier for me to paint one sheet at a time. Crayons would have worked, too, and I’m betting if you’ve read this far, you have some on hand already.
- Duct Tape – Come on, now, no project would be truly complete without this. I used this to connect the sheets of poster board together. I already had a roll of white from another project so it was perfect.
- Apple clip art – The apples were from a free clip art site and I resized them to fit two to a sheet of 8 ½ x 11 paper. You can download the original apple and the resized apples.
- Red Card Stock – It’s heavier than regular paper and keeps the apples from flopping over.
- Masking tape – glue stick didn’t work out so well for the signs on the poster board or for the apples. Masking tape was definitely better.
- Adhesive Velcro dots – I used these to attach the poster board to the stroller at strategic points.
Assembly:
In a very scientific method, I held the poster board up to the side of the stroller to determine whether I wanted to use it the long way or the short way. I decided on the long way because it allowed Miss O to see over the top edge and also allowed the bottom edge to be clear of the wheels. Most importantly, it gave plenty of room for her to kick her feet out without tearing the second sheet of poster board or knocking the whole thing off with a few solid kicks.
Next, I cleared off the dining room table, grabbed my girl’s paints and got to painting. As you can see, the design was very simple, just a few squares two brush-widths wide across the top and bottom edges of both side pieces. I did a basic plaid pattern on the front piece and if I opted to do a fourth piece, I would have made it look like the plaid one.
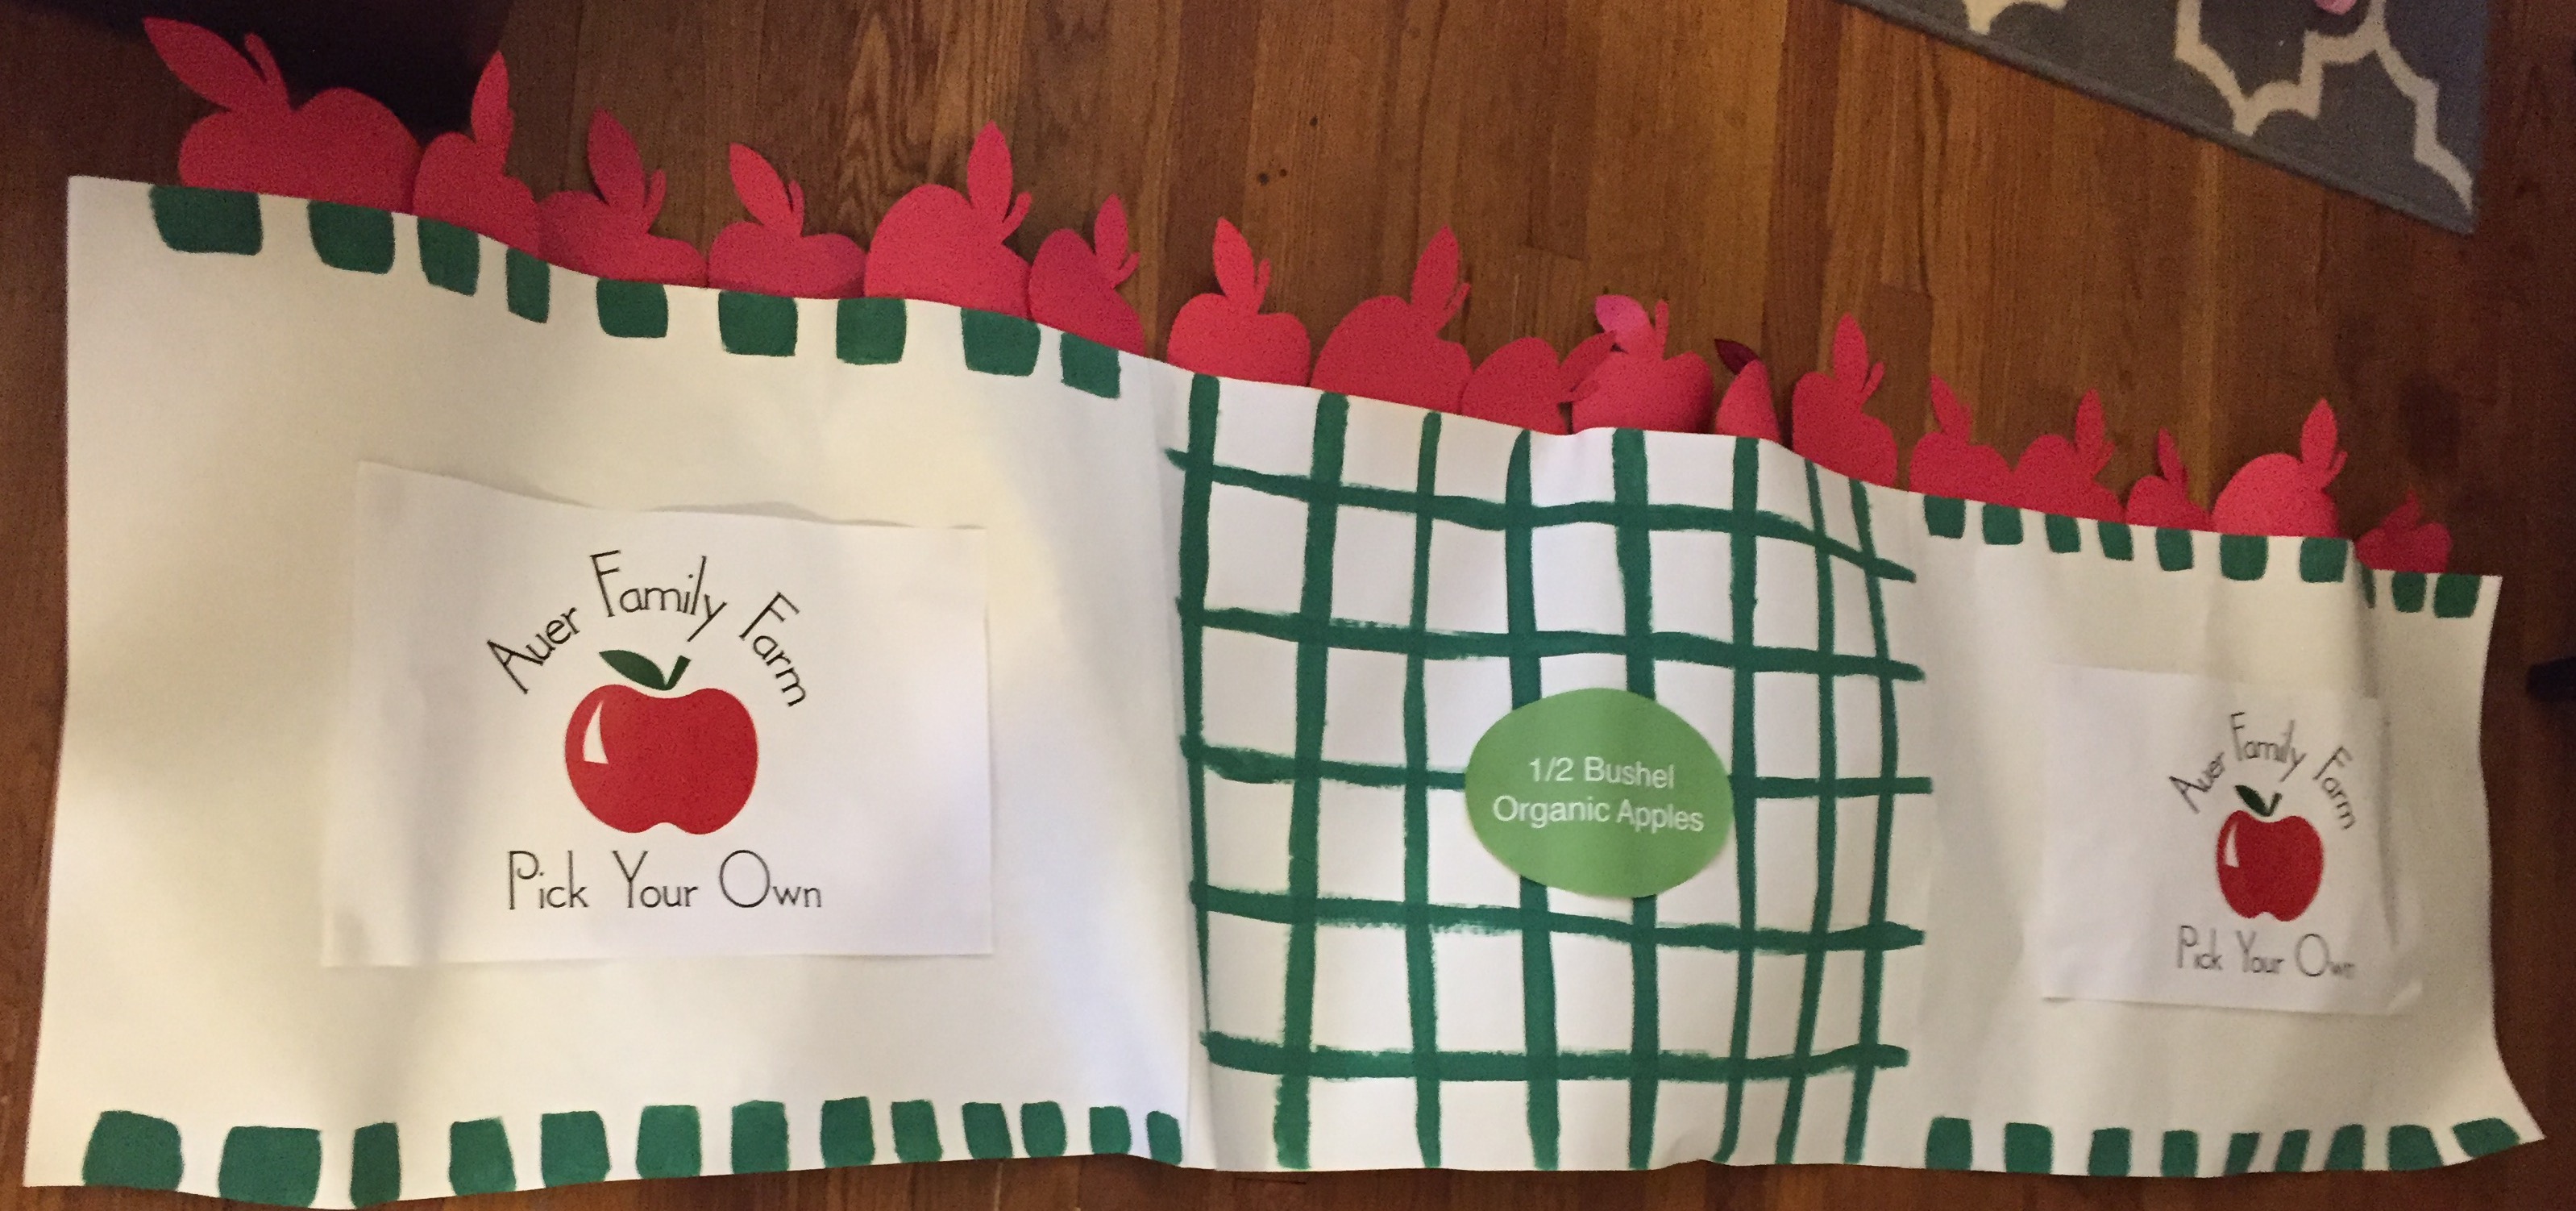
All three finished pieces.

The back of two sheets side by side, taped together. I taped mine on the back so it wouldn’t show on the front and also because it creates a handy little hinge.
The sheets dried quickly (thank you tempera paint!) so I could paint and tape them together all in one night. I tore off a strip of duct tape the length of the short side of the poster board and laid it face up on the table. I took one sheet and positioned the back side on the tape strip it so it only covered half the tape lengthwise. The next sheet was placed over the other half so the two sheets met in the middle of the tape strip and make a pretty seamless single sheet. I did the same thing for the third sheet.
All this time, Hubs was contributing to the project by cutting out about 20 of the apples. These got attached with masking tape loops along the top edge of the entire length of the poster board. I alternated large and small apples and tried to position them so some were straight and some were askew. It was my attempt at realism.
I just happened to have some adhesive Velcro dots from another project years ago and knew they’d be just the thing for attaching the poster board to the stroller. Here’s the key, match the dots together, smooth side with scratchy side first. Put them on the stroller in two or three locations on each side then put the poster board on the stroller. I did one along the upper side tube, one on the arm, and one closer to the wheels. Press hard where the Velcro is. It’s just too hard to put the Velcro on the board first and try to make it line up. Save yourself some aggravation. Also, make sure you give your passenger’s legs enough clearance, again to avoid them hulking out through your beautifully crafted project and risking you hulking out over the ruined effort.
This took us about two hours total to do over two nights and cost under $10. My intention was for Miss O to wear a red shirt and a red headband with a green paper cut out leaf, but it was not to be. She wanted nothing to do with the red shirt and I never got around to the headband. It still worked out. I also toyed with the idea of Hubs and I dressing like farmers to make it a family costume, but I decided to just let it be. As it turns out, it was more over the top than necessary for the occasion, but would have been totally spot on for Halloween.
I wish you luck. I’d love to see photos if you decide to do this for Halloween or a parade. It was hoot for me and for Miss O, so I hope you enjoy it!

2 thoughts on “DIY Apple Picking Stroller Halloween Costume”