
When the big planning for our trip to Walt Disney World was finally finished with hotel, airfare, dining, park plans and FastPass reservations secured, I could finally focus on the fun stuff. I couldn’t wait for Miss O to meet some of her favorite Disney characters before the magic of princesses and pirates faded for her. I wasn’t sure exactly how character interactions worked these days, but I knew those lines were no joke.
 Waaaaaaay back in the early eighties, before meeting Disney characters didn’t involve waiting in lines for hours, my Daddy began his quest to get my picture with each one of the characters at Walt Disney World and Disneyland. That collection of photos is one of my favorite memories.
I’m glad Daddy knew what he was doing with a camera, so we got some great pics, but I don’t. We decided to spring for Memory Maker and leave most of the photography to the expert Disney cast members stationed at each character interaction. I decided it was one less thing for us to worry about and we can all be in pictures if we’d like. I was sure we’d take some pics with our phones, too, but I knew their experience would be worth the cost.
I booked a character breakfast at Akershus in Epcot, hoping to leverage the opportunity not only to meet several princesses at one time, but also to get a little ahead of the game getting to the Frozen Ever After ride and meeting Anna and Elsa, two can’t miss characters on Miss O’s wishlist. I sprinkled some meet and greet opportunities through our park plans for our days at Animal Kingdom, Magic Kingdom, and Hollywood studios as well. I figured we’d probably meet a few other favorites while the grown-ups were on the rides I knew Miss O would never do. I knew we’d have to take our own photos at the breakfast, but I forgot all about collecting autographs.
The classic Disney Autograph book is a great way to get signatures and the book now has spaces to include printed out photos. While some people feel they’re expensive, I honestly don’t think they cost all that much, especially when compared to the alternatives folks are raving about on Etsy. I personally think that’s more about getting something more to that person’s taste than the expense of the book.
I was approaching this trip as a once in a lifetime deal, so I wanted to do something a little more special. I also know that anything in book form will end up crammed upside down and backwards on Miss O’s bookshelf or the floor and she may or may not ever find it again, let alone have it in one piece to look at.
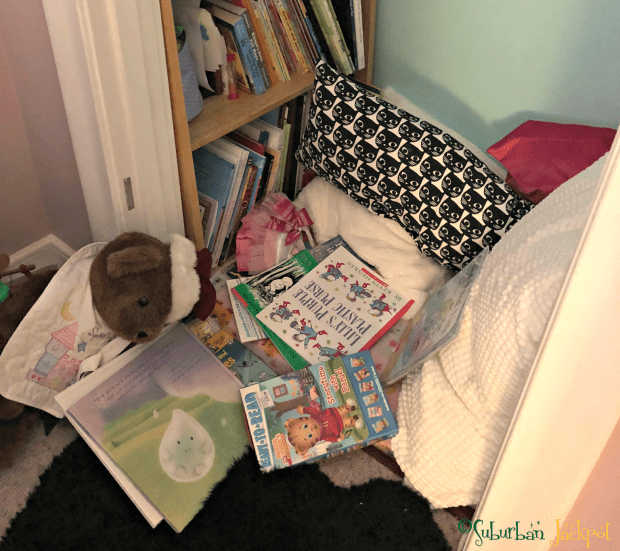
Honestly, for as much as she loves reading, you’d think she’d channel a little more Belle than Beast about her books.
I’ll admit, though, looking through Etsy at all those cute “custom” autograph books had me pining for something a little extra. During one of my random zombie Etsy shopping sessions, I stumbled on some cute felt autograph banner wall hangings by Glambanners.
Now we’re talking!
Unfortunately, fuzzy felt is not that easy to write on. Pens and markers get stuck on the fibers and the ink isn’t always drawn in a solid line. I loved the idea of something we could display in her room, that hopefully would provide a happy memory each time we looked at it, but this wasn’t going to work quite the way I’d hoped.
At least I had a solid idea of what I wanted: something easy for the characters to sign that would still be legible and have enough room for all the characters I thought we’d meet during our week, without looking too cramped if we met a lot of them or too empty if we didn’t.
This is when Google is your friend.
Honestly, how many hours did we lose before Google? Photo credit: Meme Binge
I started off with “best fabric for autographs” and ended up with 100% cotton t-shirts. Agreed, but I wanted something that was going to last longer than a year and I knew I’d be uptight about letting her wear it. No T-shirts.
Next, I found pillowcases. There’s a clever idea, but not really what I was going for. I was pretty wary about washing away all that time in line each week when I did laundry and Miss O is pretty particular about her linens.
More searching led to this darling DIY decorative Banner tutorial by Hello Creative Family and I knew I found my answer. The canvas would be nice and smooth to write on. It’s heavy enough to hang well on the wall, but light enough to carry around the park and flexible enough to fold up and carry it around in our park bag. Once we got home, I could press it out, put a dowel through the top, tie it up with ribbon, et viola!
To figure out my ideal dimensions, I spent some time in my daughter’s room staring at her walls. I made a paper mock up and taped it to the wall so I could get an idea of size and adjusted my seam allowances accordingly. Once I had my finished dimensions, I calculated how much fabric I’d need and headed to JoAnn fabrics. They had the perfect utility canvas and I had a 50% off coupon, so I was off to a pretty great start.
It took me less than an hour to get my basic banner measured, cut and sewn. The hardest part for me was figuring out what image I wanted in the middle and how big it should be. That took a few trials with paper mock ups and LOTS of measuring. I found a great free Cricut cut file of Cinderella’s castle at Walt Disney World. So classic! I had a perfectly sized piece of Cricut silver glitter vinyl leftover from a previous project for Miss O, so I knew she’d like it. I loaded up my Cricut Maker, let it do its thing, then ironed the castle pretty close to the middle of my banner.
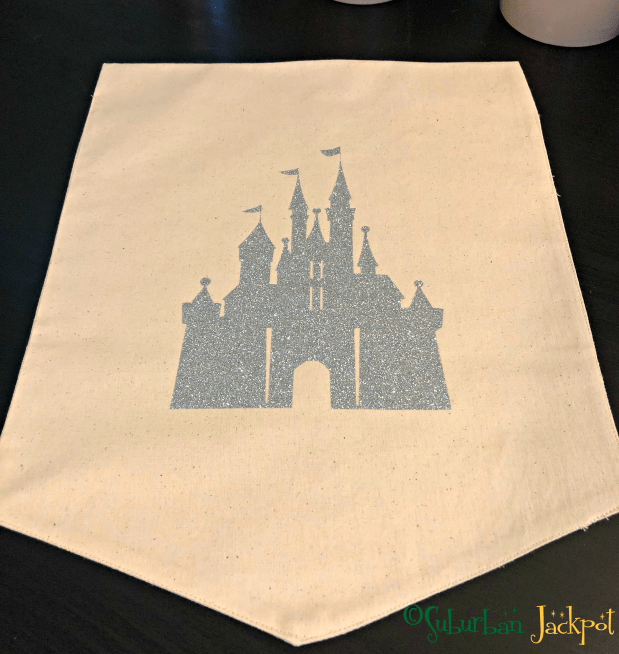
I love how it turned out!
I tested several different permanent, fabric and paint markers to figure out what to use for the character’s autographs. While fat sharpies are preferred for costume characters with big gloves like Mickey and Goofy, these regular Bic permanent markers worked so much better at writing smoothly with little bleed or color loss. I did have some ink show through the back, but it’ll be hanging on a wall and no one will see it. I could have lined the inside with wax paper to prevent the ink showing through, but I’m really not too concerned with that for this project.
After it’s signed, I’ll slip a dowel through the top and finish it with some ribbons on each side and a ribbon for hanging.
I’ll let you know how it works out!

11 thoughts on “DIY Disney Autograph Banner”